The arrival of the sewing creation tool in the version 2020.1 of Patchwork 3D, you can save time on your project.

With this post I will show you how to make your sewing in no time.
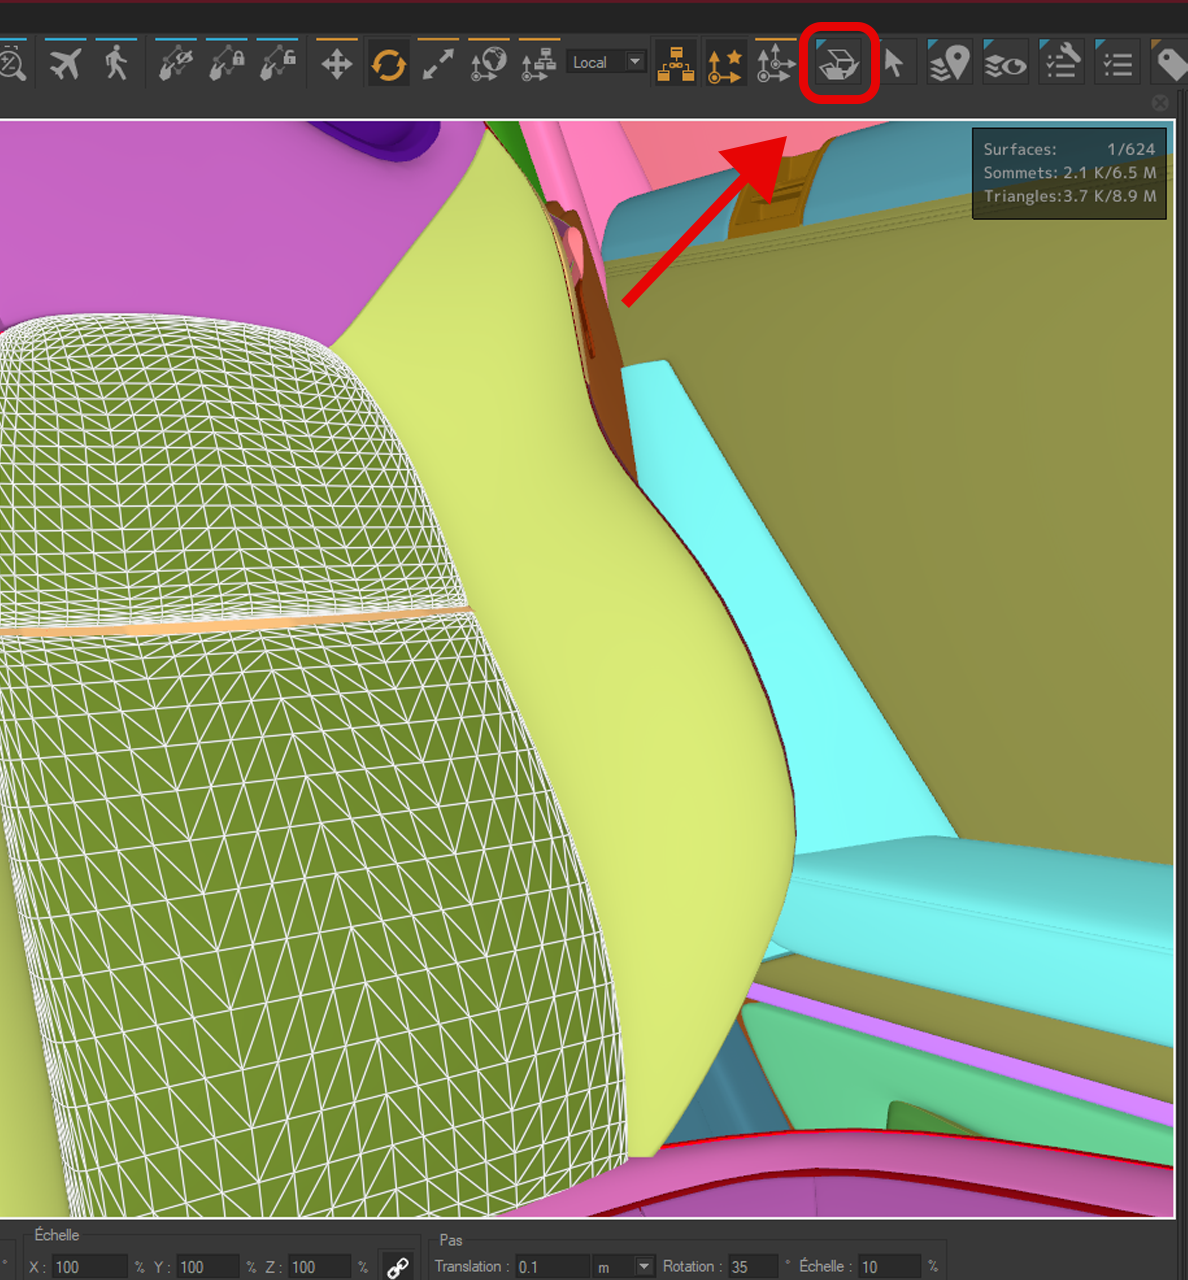
1. Unfolding your surface is mandatory before sewing.
The Shift+U shortcut opens the unfolding tool with the selected mesh.
The icon is located at the top right of Patchwork 3D.


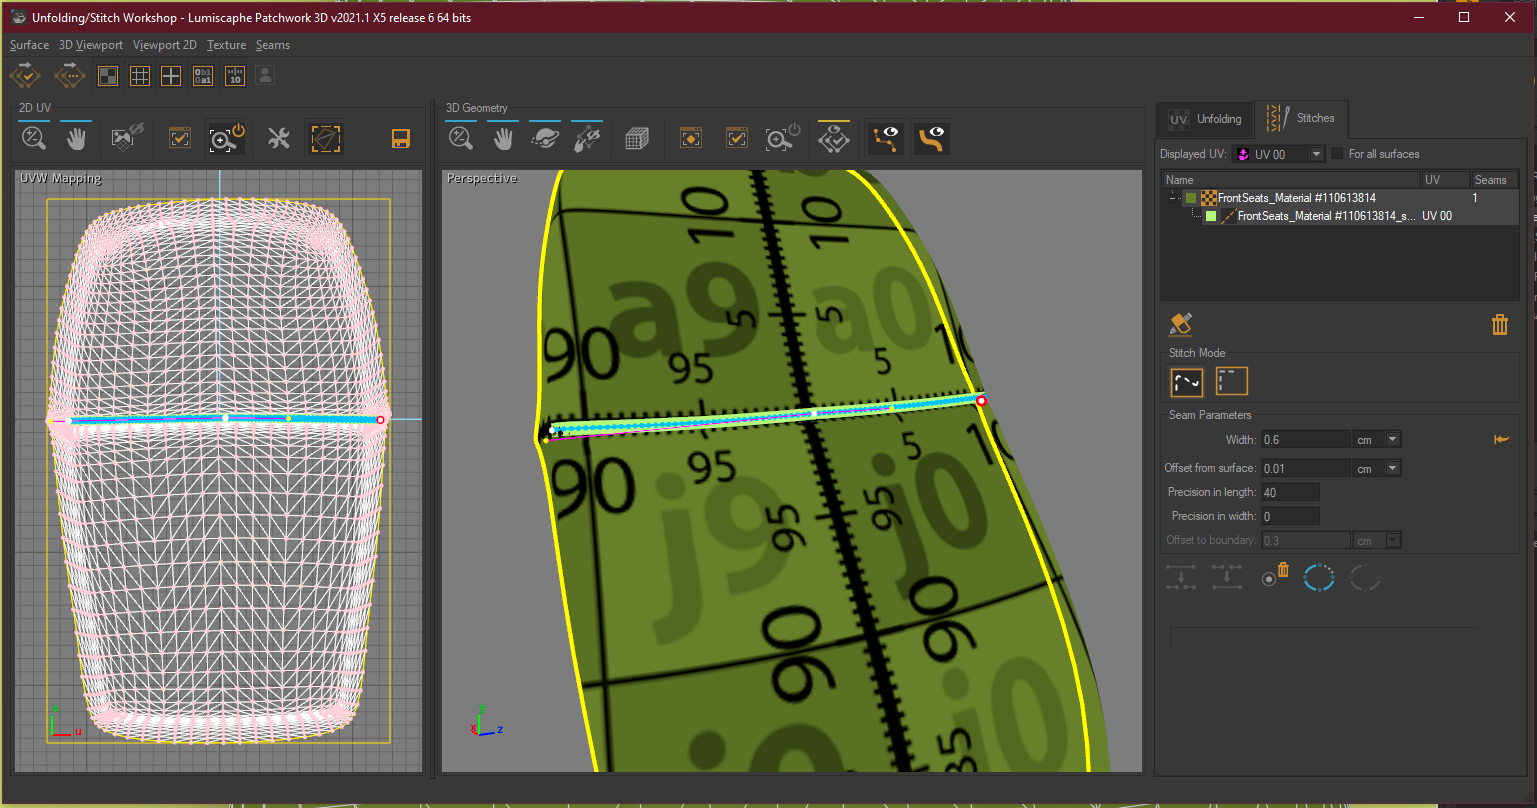
2. After unfolding your surface, open the Stitches tab to see its options. There are 2 options available in the Stitch mode:
– Free Draw Seam: allows you to free draw lines on your surface without constraint.
– Follow Surface Boundary: allows you to follow boundaries of your surface if it has borders. A closed surface does not have a border.
The Free Draw Seam tool allows you to put seam points on the surface that link together and
form a geometric strip. It is possible to move seam points in the 3D view and the UVW projection to be more precise.
ALT+Select: The ALT key allows you to transform a seam point into a Bezier for more precision and to smooth the curvature of the seam.
The settings are the same in both options.
Width controls the width of your seam.
Offset from Surface controls the distance between your surface and the previously created seam.
Precision in Length controls the number of polygons along the length.
Precision in Width controls the number of polygons in the width.
Offset to boundary is a parameter available in Follow Surface Boundary mode, which allows you to control the distance between your surface’s boundary and the previously created seam.
Don’t forget to do the lighting of your newly created plane.
3. Going into Matter

After lighting your plane, you just have to choose in the external library in the Stitches folder the seam you want.
You can create your own stitch by following the texture options already available.
Apply your texture to the stitch plan.
4. And then you have it, your sewing strip is ready for your seat or any other surface that needs a strip.
To learn more about Patchwork 3D here is the link to the documentation:
https://staging.patchwork3d.com/manuals/
We have also some video tutorials on Youtube.
Here is the link https://www.youtube.com/watch?v=zyYCtXe7W6g&list=PLS33qFtGdxcQyLFQZeWMf6KzH_lJ7a_iq
Do you have any questions about sewing in Patchwork 3D? Please ask below.
-
This topic was modified 4 years, 5 months ago by
.
-
This topic was modified 4 years, 5 months ago by
.
-
This topic was modified 4 years, 5 months ago by
-
This topic was modified 4 years, 5 months ago by
-
This topic was modified 4 years, 5 months ago by
-
This topic was modified 4 years, 1 month ago by
.
-
This topic was modified 4 years, 1 month ago by
-
This topic was modified 4 years, 1 month ago by