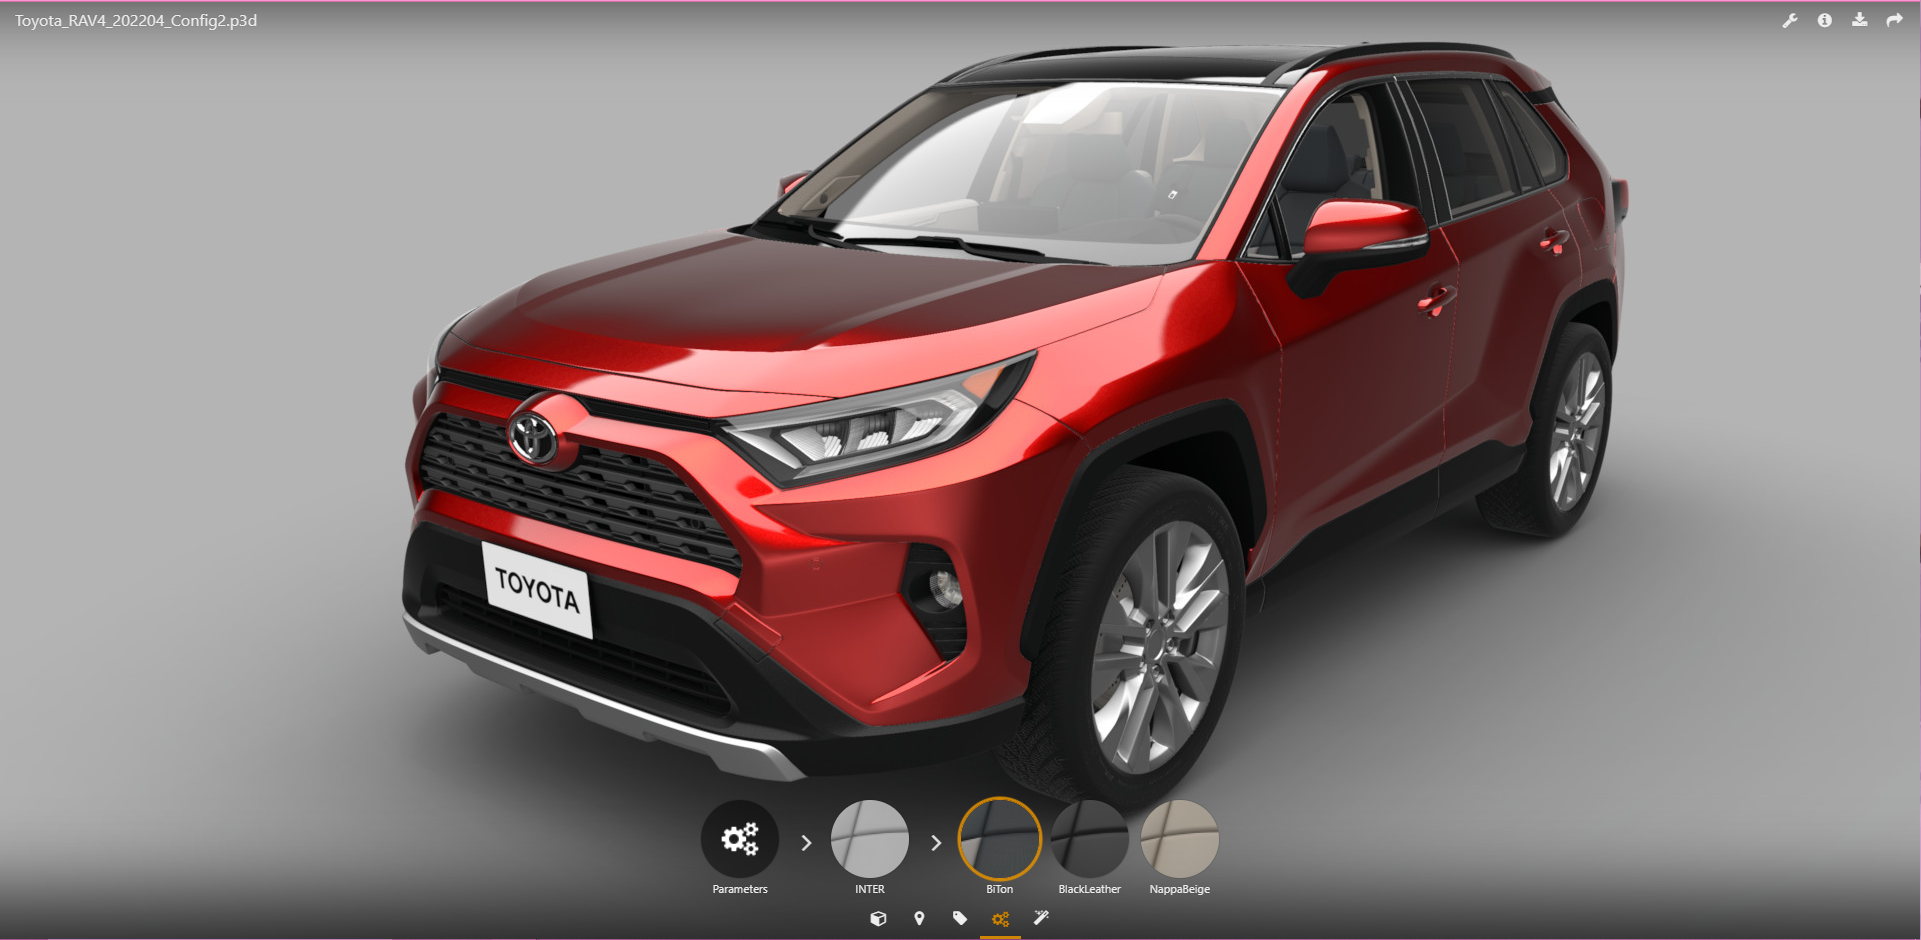
The thumbnails visually represent multiple configurations of materials or camera framing.
The screenshot below shows the thumbnails of the seat finishes.
 Want to know how to generate thumbnails of your project for viewing them in Lumis 3D? Look no further, this #QuickTip is here for you.
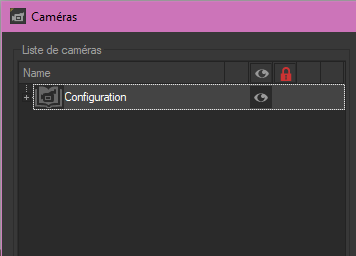
1– Open the Cameras editor.
The icon is located at the top right of Patchwork 3D in both Matter and Shaper modes.

2– The trick is to create a camera group named Configuration. Make sure to respect this naming, it is very important!

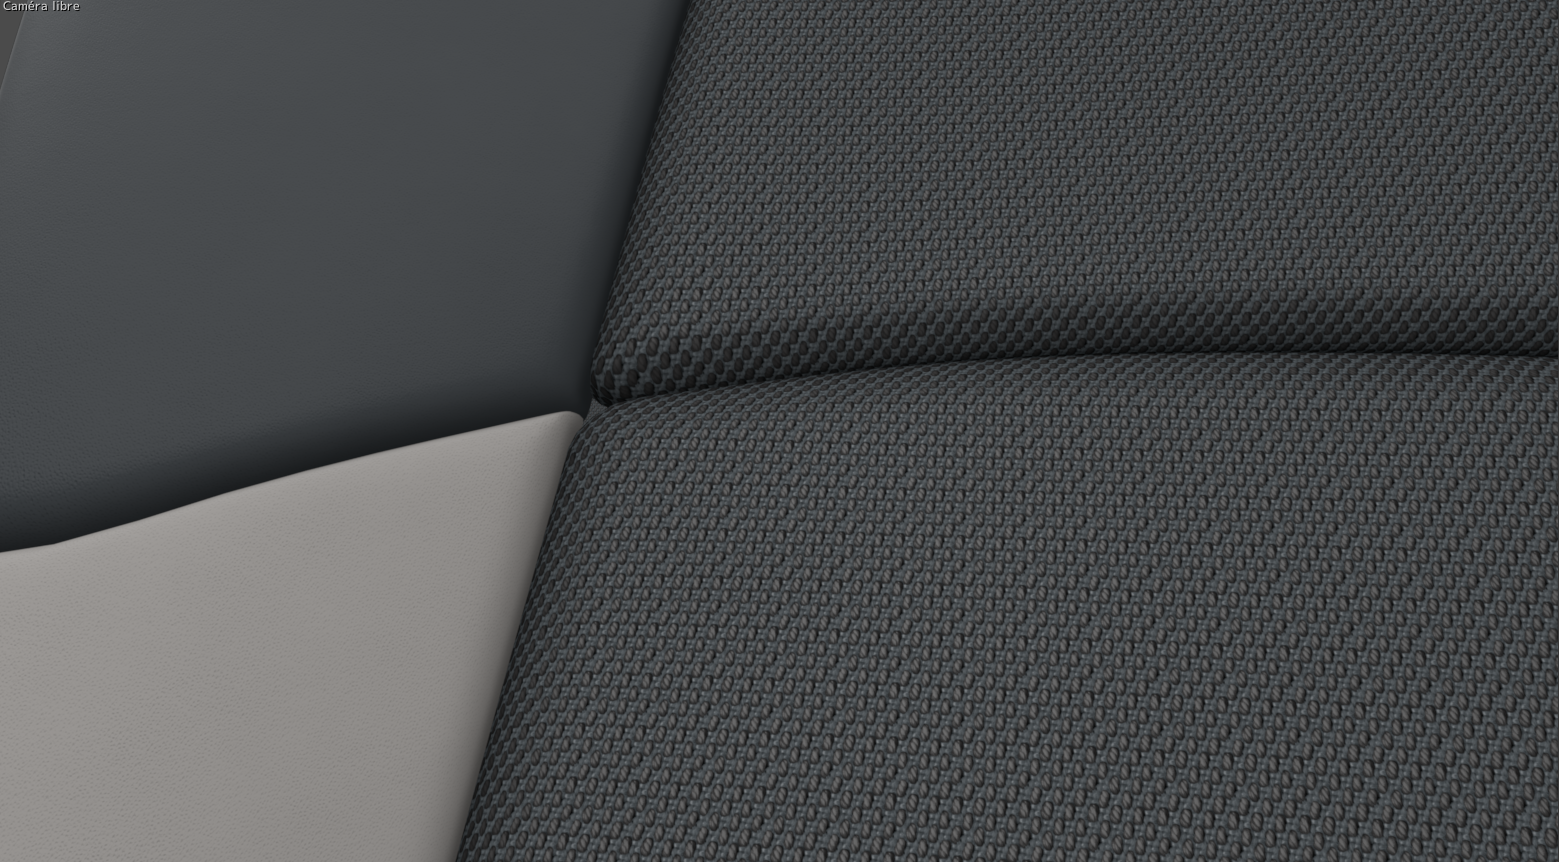
3– Now, we are going to create the thumbnails by adding one camera per configuration. The camera you have just created will be your thumbnail in Lumis 3D, so be sure to adjust the framing.

Here is the camera framing of the car fabric seat.
The naming of the cameras must be similar to your configurations, including capital letters.

It is possible to create folders in Lumis 3D with your viewpoints previously framed in Patchwork 3D as shown in the example with the camera group. Below are several examples of the Animation and Staging camera groups.

And there you have it, you now have beautiful thumbnails in Lumis 3D.

To learn more about Patchwork 3D here is the link to the documentation: Camera
You can find our video tutorials on this page: Video Tutorials
Do you have any questions about thumbnails? Ask us below.
