Forums Technical subjects R&D Technology previews Launching the development of a new real-time 3D rendering engine based on Vulkan

1 2

Author Posts

Lionel
Keymaster

We are thrilled to present to you the new development phase of our 3D rendering engine based on Vulkan technology, in episode 11 of our series.


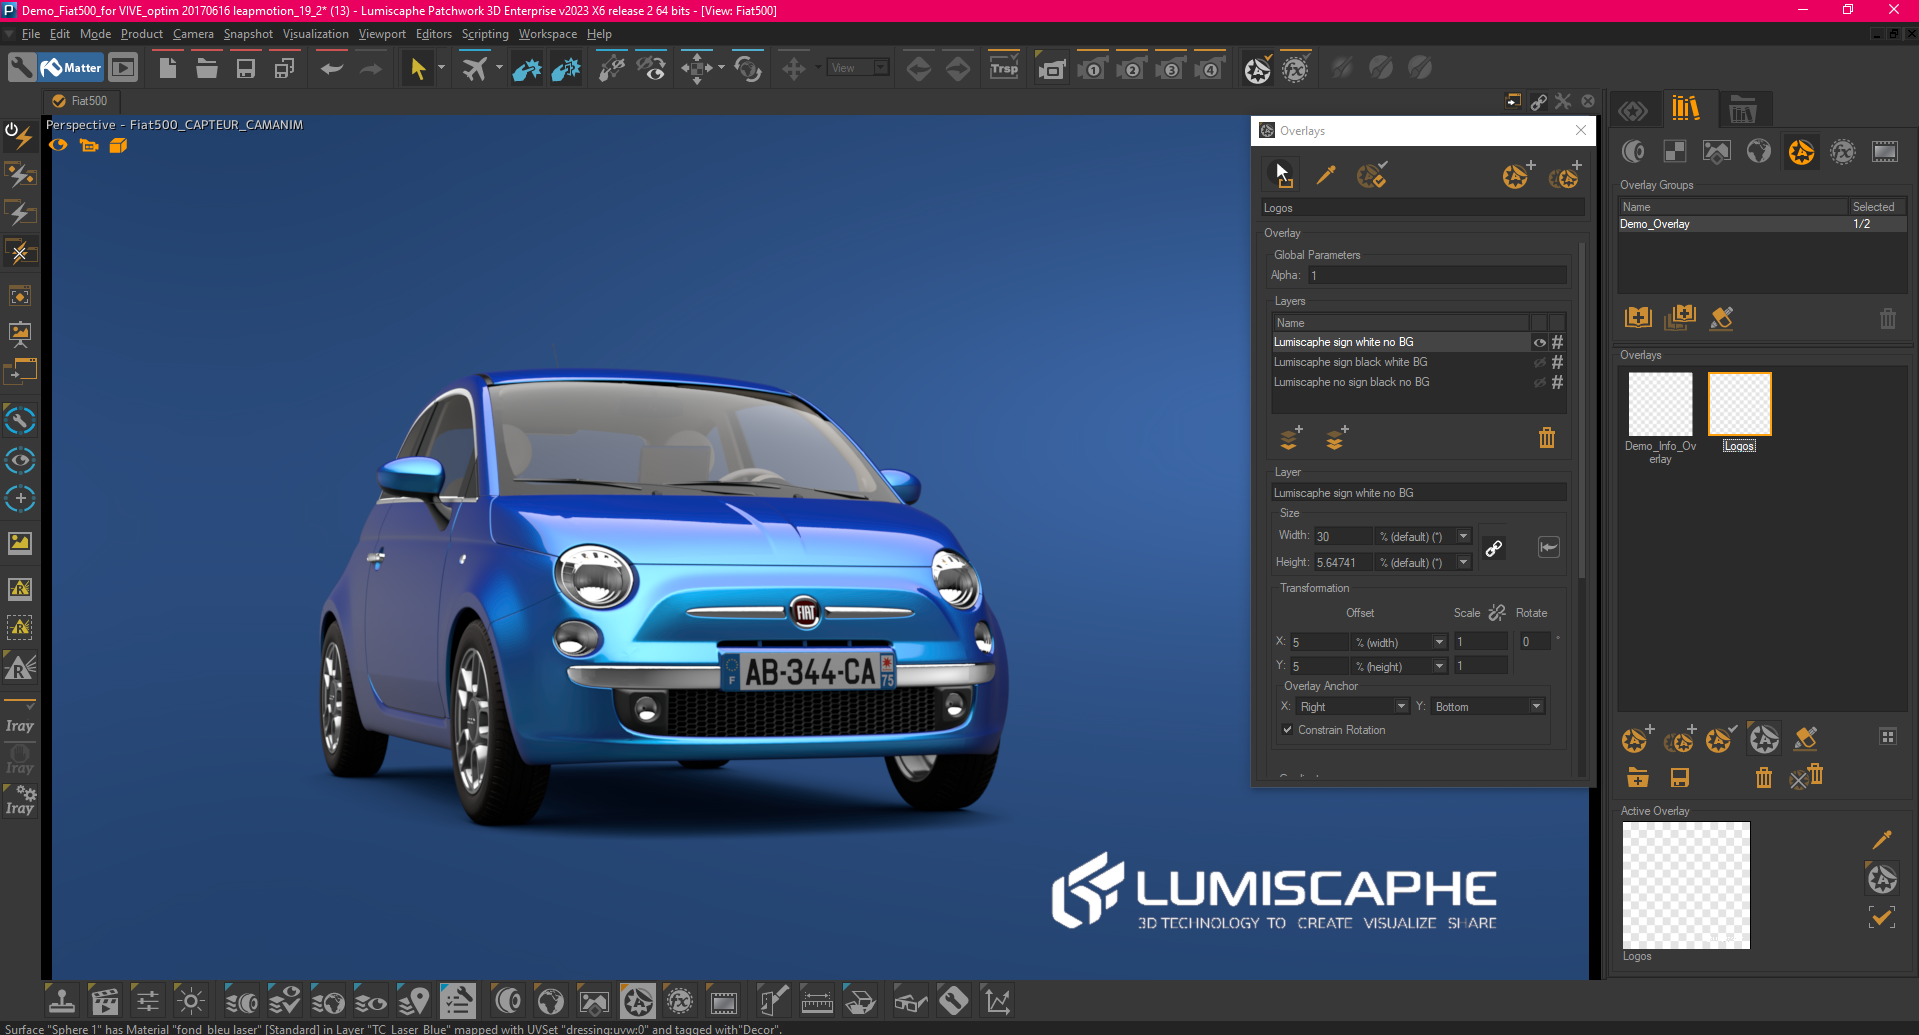
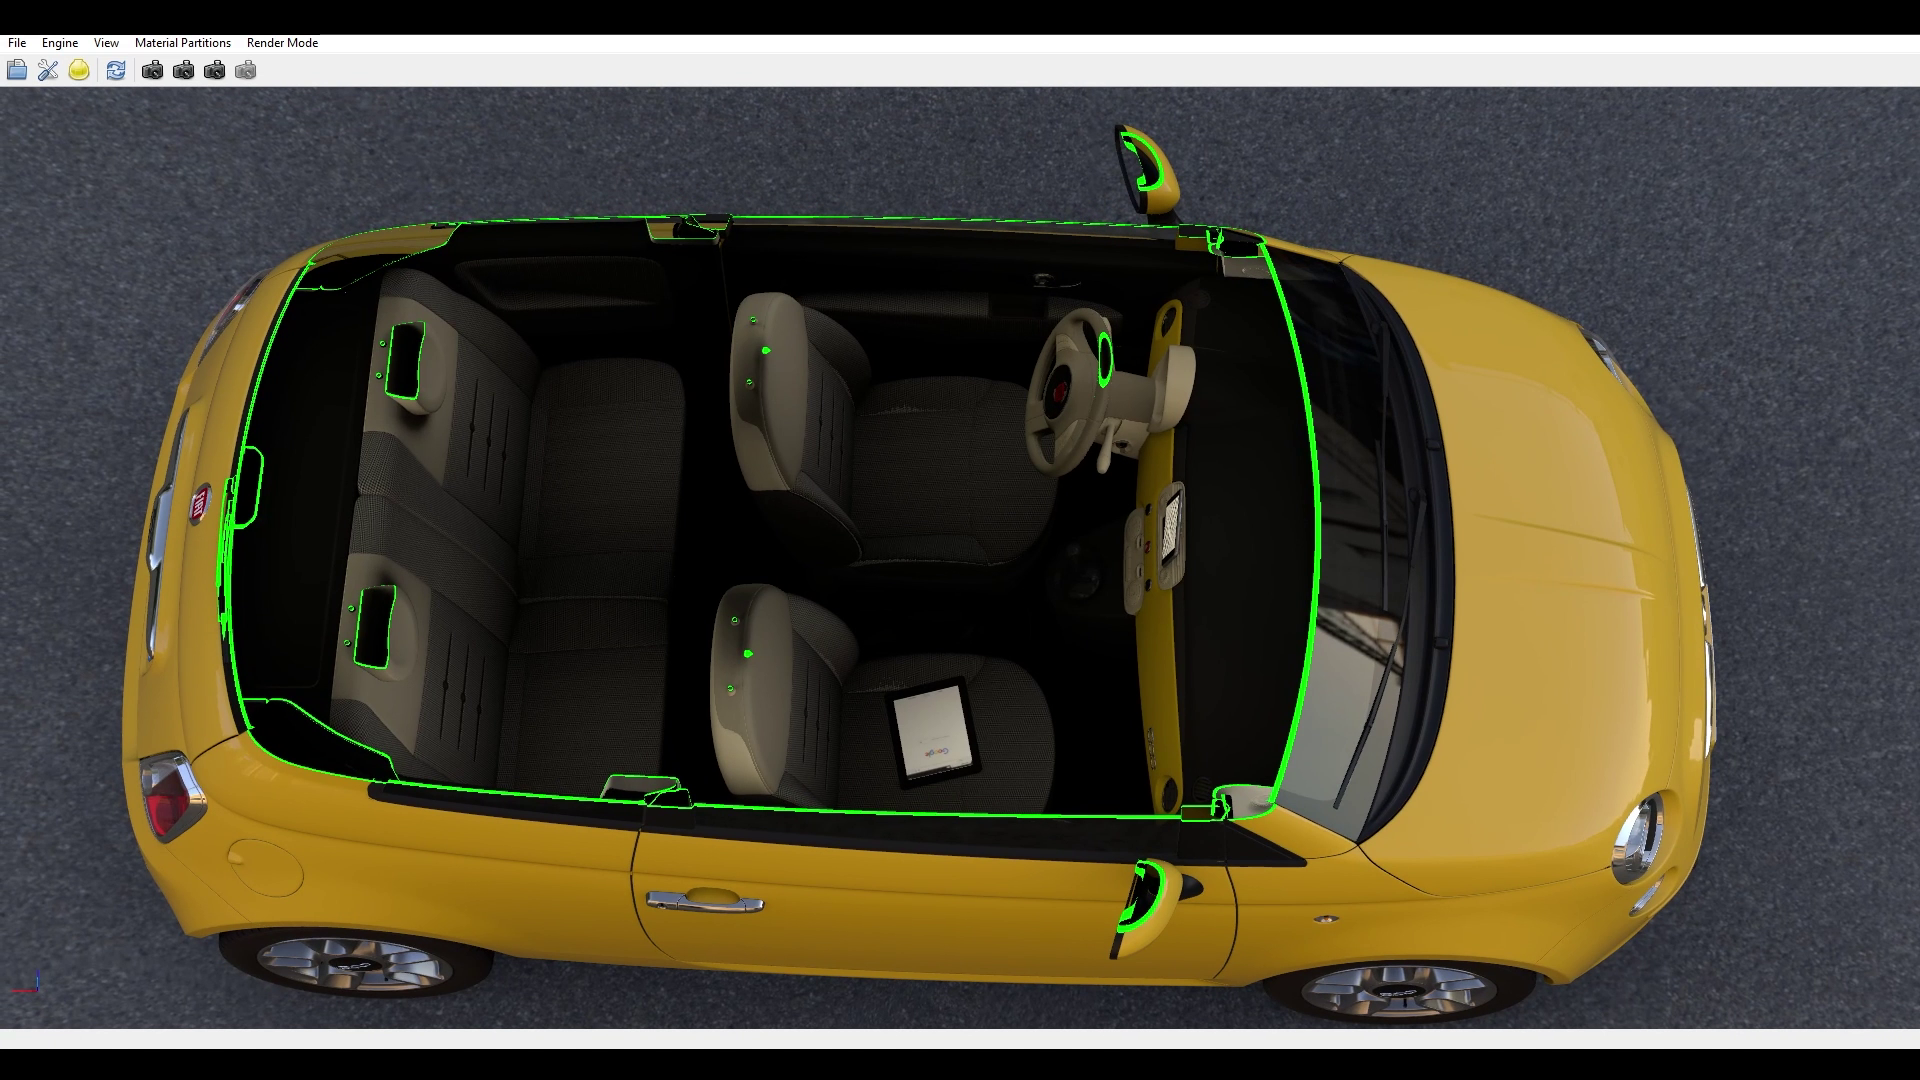
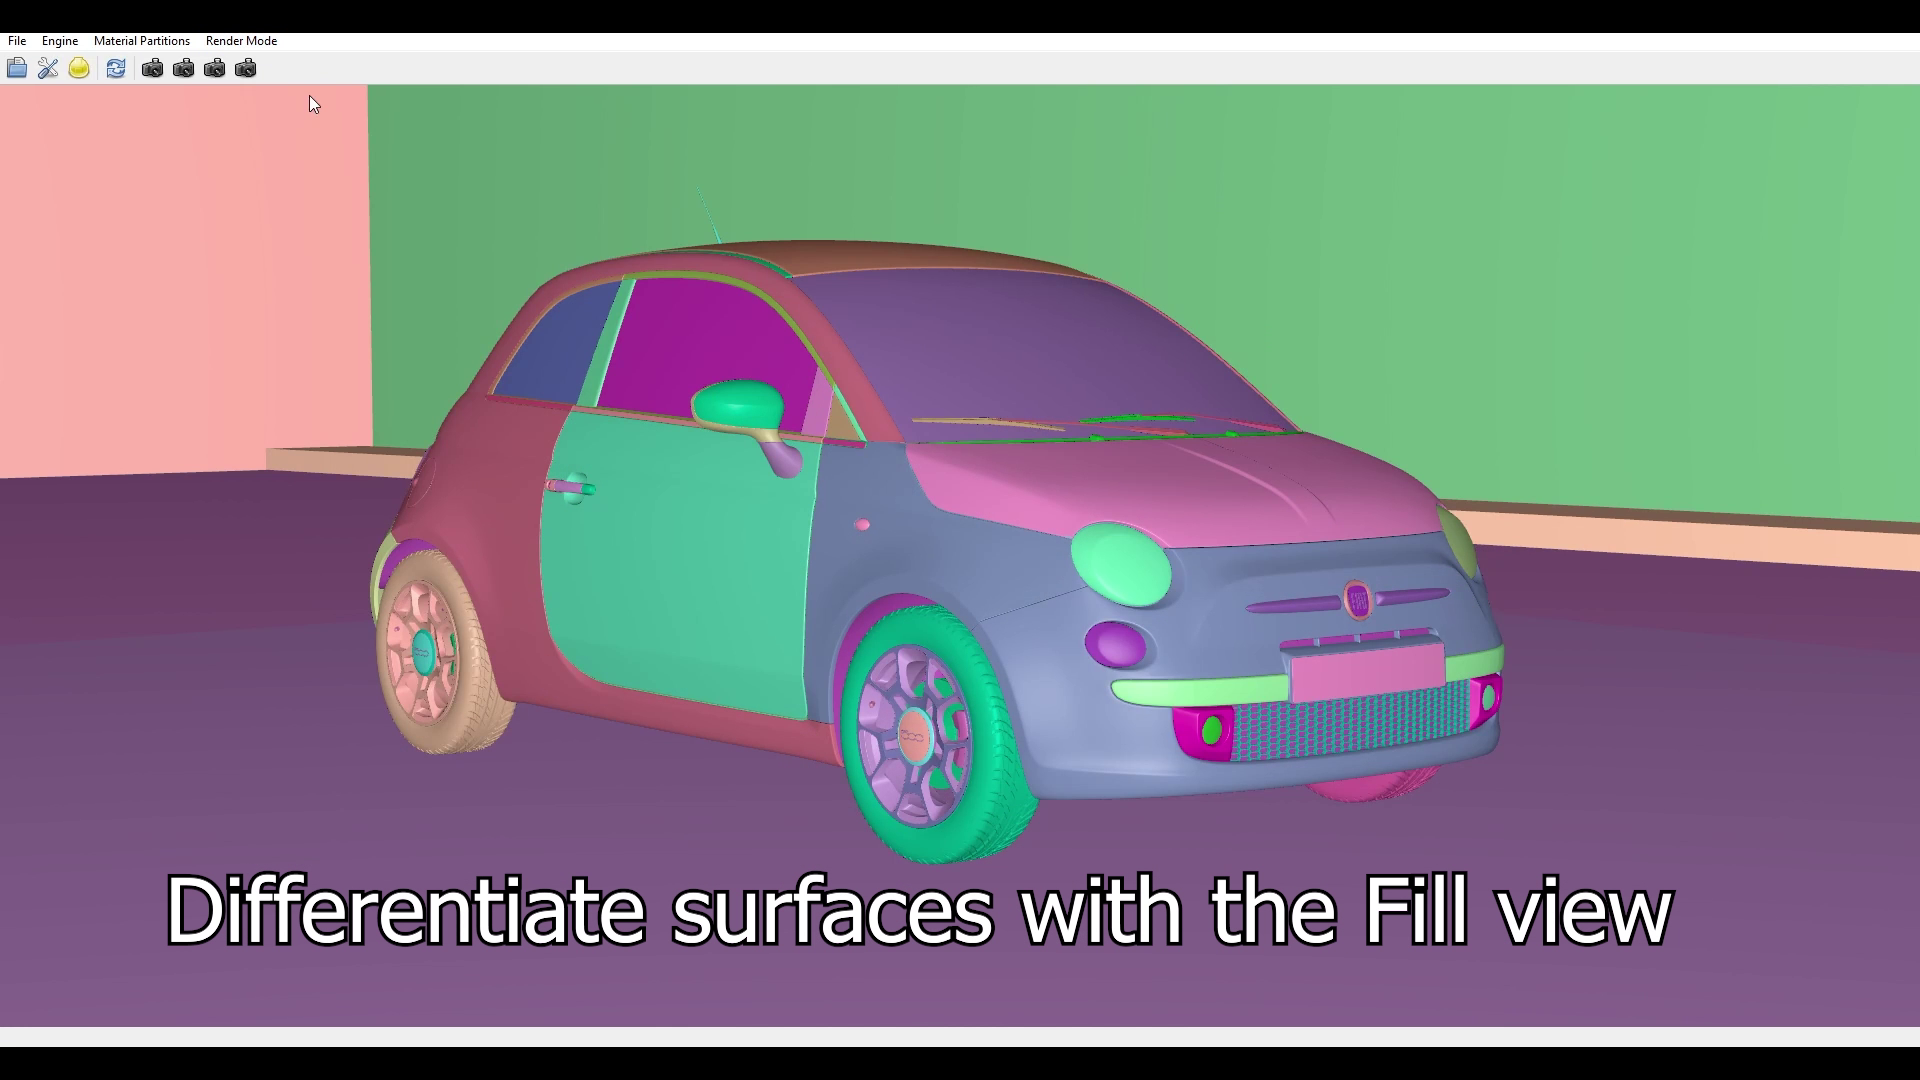
We are not just aiming for a beautiful rendering, but a practical rendering for the authoring phase. When we work on surfaces, such as with the Shaper mode of Patchwork 3D, our goal is to visualize and differentiate each surface clearly. This is the opposite of photorealistic mode, which often seeks to harmonize the appearance of surfaces, even if it means that we no longer perceive the true structure of the object!

We call this aspect the “Fill” rendering mode.


Fill rendering mode in Vulkan lab


During the authoring phase, to prepare for precise texture placement, we adjust the “UV mapping”, also known as “Dressing” in Patchwork 3D. To evaluate the size and orientation of this UV map, the rendering overlays a colored checkerboard texture on the “Fill” rendering mode, which we call the “UV” rendering mode.


UV rendering mode in Vulkan lab

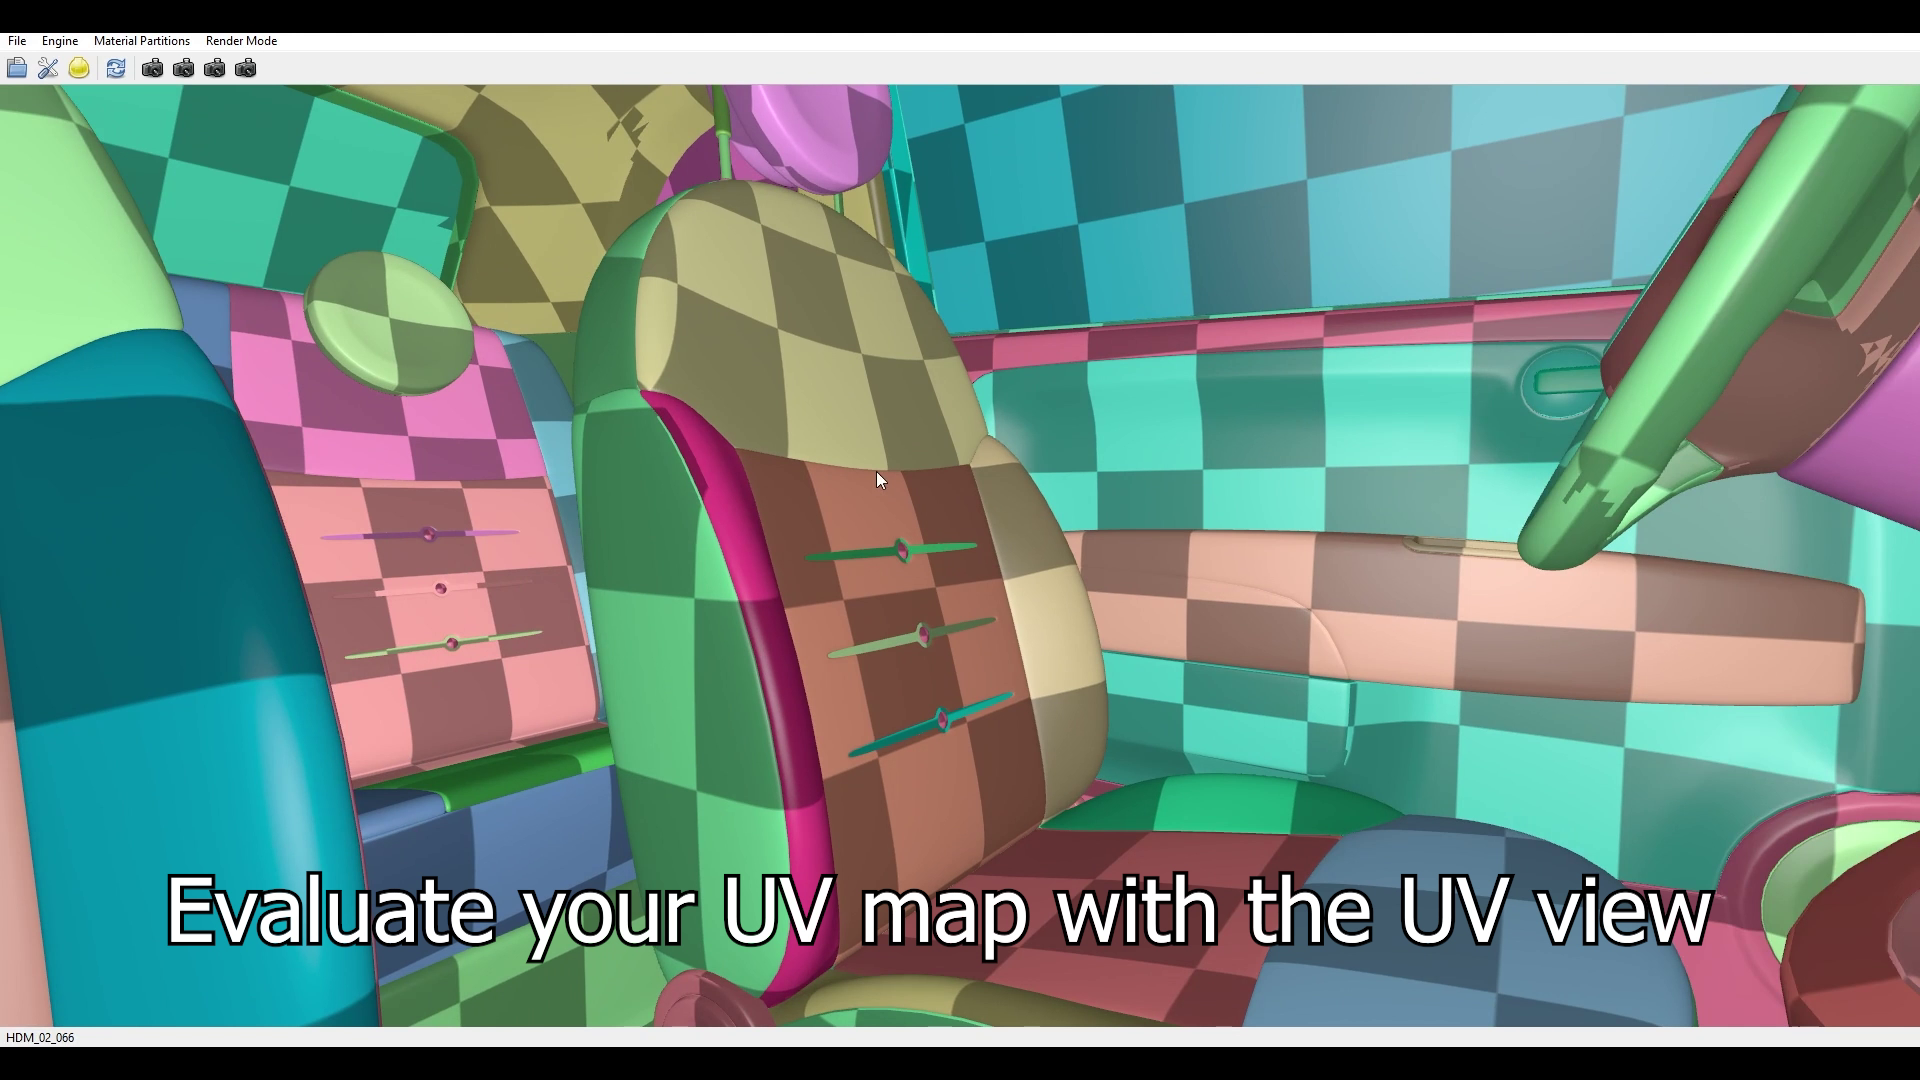
This special checkerboard texture is procedurally generated on the CPU (multi-threaded) at application launch.


We have easily implemented these two rendering modes using Vulkan technology.


Isn’t it cool?


Lionel
Keymaster

We are delighted to present the new development phase of our 3D rendering engine based on Vulkan technology, in the 12th episode of our series dedicated to Overlays.

In Patchwork 3D, just like in most 3D modeling software, we have the ability to include credits, titles, or logos on rendered images using Overlays.

Screenshot of overlays editing in Patchwork 3D


These overlays add an undeniable finishing touch to the final image. While it is possible to perform this operation in a 2D image editing application during post-production, integrating it directly into the 3D base allows us to automatically include it in all subsequent visualizations, including interactive 3D displays such as web configurators, demo kiosks, virtual reality/augmented reality, etc.


See how it looks in our Vulkan Lab by loading 3D assets with and without Overlays:

The development of Overlays with Vulkan is relatively straightforward, as it closely resembles the rendering of static backgrounds that we implemented in episode 4.


We hope you found this episode interesting. Overlays are a simple yet valuable tool. Integrating them directly into the 3D base provides consistency across all your renders and applications, as well as ease of updating.

Feel free to ask us any questions in the comments below.

Subscribe to our channel to stay tuned for upcoming episodes: click the Subscribe button at the top of the page (while logged in)!


Lionel
Keymaster

In this new episode of our Lab Vulkan, we present the essential helper tools for 3D model editing within the context of our Vulkan-based 3D rendering engine. Helpers or gizmos are fundamental elements that allow displaying and interacting with 3D models by providing additional information and dedicated handles for specific manipulations.

Watch here, descriptions below:


Here are the four helpers we have implemented:

– The reference frame represents the classic axes of the 3D world with the colors red, green, and blue. This visual representation is crucial for understanding the orientation and position of objects in space.

– The grid represents the location of the zero point on the Z-axis, or altitude. The grid is centered at the origin of the 3D world and establishes a zero level for the “ground” on which objects can be placed.

– Bounding boxes: Each surface of a 3D model is surrounded by a virtual parallelepiped box that delimits its extent along the three axes. This allows visualizing the boundaries of surfaces and gaining a better understanding of the space occupied by each object.

– The Bézier curve: This 3D curve is a powerful tool for representing camera paths or other animated objects.

Feel free to ask us any questions in the comments below.

Subscribe to our channel to stay tuned for upcoming episodes: click the Subscribe button at the top of the page (while logged in)!


Lionel
Keymaster

What if today we put our heads in the clouds? Well, no… but in the Vive Focus 3 VR headset YES!

So in this 14th episode, we’ve created a special version of our Vulkan lab to run on this standalone headset. No wires, no PC, no tracking cameras in the room, it’s all on the head!

In the video below, you can simultaneously see the virtual scene displayed in the headset and our adventurous operator, Kévin, doing the “walk around” of the Fiat 500. He even goes so far as to sit behind the steering wheel! Don’t worry, he didn’t drive off it with him – I kept the key 😉


And so it works! As you can see, our Vulkan engine performs very well on this platform.

Continuing from our Android lab (episode 8), we naturally had to adapt it to the way the device’s SDK works.
To get something done quickly, we made a first, naive, non-optimized implementation. Thus, performance is still modest, between 15 and 20 FPS on the Fiat. What’s more, rendering resolution is relatively high (1720 x 1720 per eye).

That’s it! Any comments or questions?


Lionel
Keymaster

Today, we’re going to unveil a new development in our Vulkan-based rendering engine: the “clipping planes”!

Clipping planes are a powerful way to visualize the interior of complex 3D objects. Imagine being able to explore every little detail of an automobile as if you virtually sliced its roof off to observe the interior from a new angle. It may sound unrealistic, but with a clipping plane, it’s possible!


In the video below, you’ll see how we effortlessly created a horizontal clipping plane in Patchwork 3D, just above the seats. Then, in our Lab, we simply raised the viewpoint to provide an exclusive top-down view through the clipping plane.


We have, therefore, developed the rendering of clipping planes in our new Vulkan-based rendering engine. We have optimized it, including utilizing hardware-accelerated clipping planes for devices that support it (most modern ones). Additionally, we have optimized the rendering of mirrors. As a result, the performance impact is minimal, and in some cases, it even boosts rendering speed!

See you soon!


Lionel
Keymaster

Today, here’s the latest development in Lab Vulkan: the configuration system!

Imagine being able to explore all the composition possibilities of a vehicle: its painting, rims, interior finish, and so on, and even the decor, and see the result instantly, from different point of views, in 3D.

The configuration system is a basic feature that allows you to build a product in Patchwork 3D with geometric and appearance variations. By defining rules for the elements making up the product and their combination, the product is parameterized. It can thus present thousands or even billions of possibilities!

So we’ve transposed our rule application engine into our Vulkan Lab to drive the rendering composition of all the elements previously added so far (see previous episodes).

In this video, we show the configuration created for the Fiat 500 in Patchwork 3D. Then in the Lab, it’s now possible to play with the configuration rules to choose the composition of the Fiat 500, rendered by our new Vulkan engine.

Given the previous work on rendering these elements, there was nothing Vulkan-related at stake. But it’s great to be able to play instantly with the product!

See you soon!


Lionel
Keymaster

Today, it’s the time for animations in the Vulkan Lab!

At this point, we’ve got the rendering, the performance, the configuration in the rendering engine – now what?

Interactive manipulations are (very) good 🙂 but being able to create an animation of the scene and put into motion all the possibilities we’ve developed in the engine is even better!

So today, we present the last step we’ve developed: running the animations.

The animation is prepared with the channel editor in Patchwork 3D, then we launch the Vulkan renderer in the Lab on it.

Please note that we’re talking about realtime animation with the Vulkan-based 3D engine, not pre-calculated video playback.
Here, the remarkable performance of the Vulkan platform is essential.

See you soon!

  • This reply was modified 10 months, 3 weeks ago by Lionel.


Lionel
Keymaster

Let’s take a look at where we stand.

Here’s an (almost) timelapse of the journey from the beginning of the Vulkan rendering engine to the present day.

We’ve got:

  • Lightmaps illumination
  • Backgrounds and camera bookmarks
  • Colorimetry and modulation of ambient lighting by the HDR environment
  • ‘Object’ and ‘Position’ rendering buffers
  • Monitoring rendering performance
  • Rendering on Android
  • Fill and UV render modes
  • Materials and stickers
  • Overlays
  • Bounding boxes and other gizmos
  • Clipping planes
  • Experimenting with the Vive Focus 3 VR headset
  • Configuration browsing
  • Rendering animations

So, yes, it lacks a few features compared to Patchwork 3D 2023’s OpenGL rendering engine, including: the real-time sun, the post-processes, the 3D bump / relief / parallax bump mapping, the SSAO, the enhanced transparency.

But in terms of performance, WAOUH, it crushes it (and it will remain well above).


Lionel
Keymaster

Hello!

We made a summary demo video with all the features ➔ in this post.


1 2

  • You must be logged in to reply to this topic.